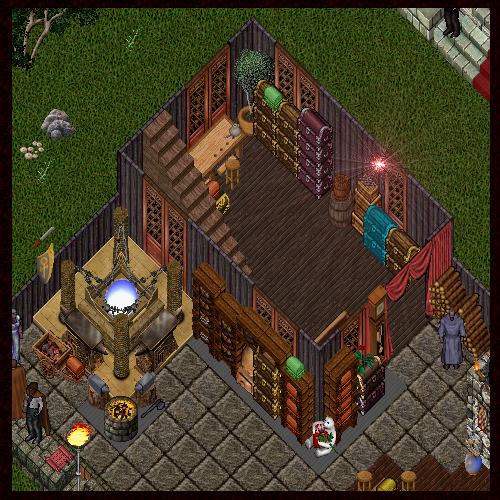
Welcome to the Chesapeake Crafters Society area for different guides created by your fellow CCS members and Crafters Hall Staff. Anyone is welcome to use the information in these guides and we hope the guides help make your crafting experience a smooth and hair pulling free time.
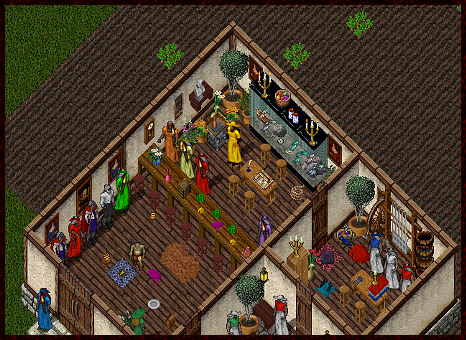
One little shop with a dedicated Lady who made a difference in the community,
and still to this day, continuing to do so, just not out on the farm.
"Angelica's" March 1998 - December 2005
Training Smith
Training Tailor
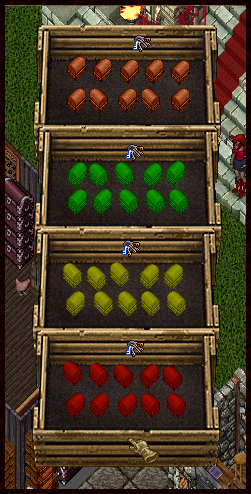
Crates For Training Lockpicking
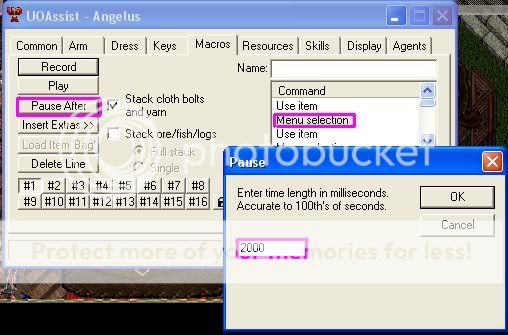
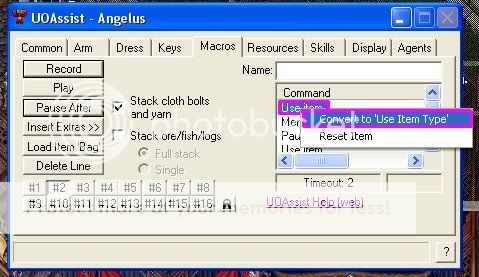
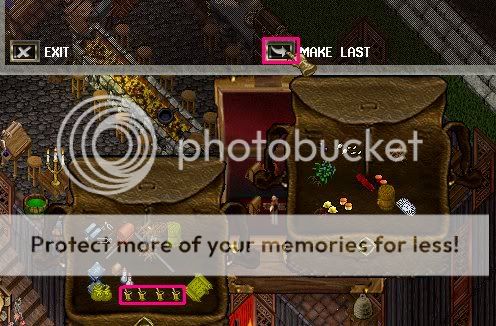
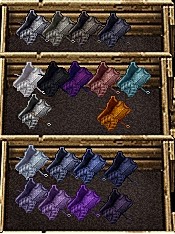
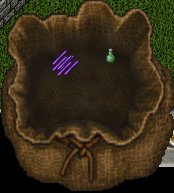
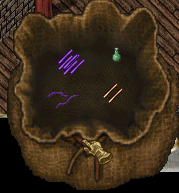
Organizing Bags for Tools and Runes
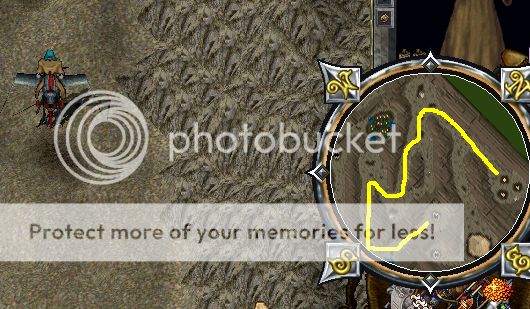
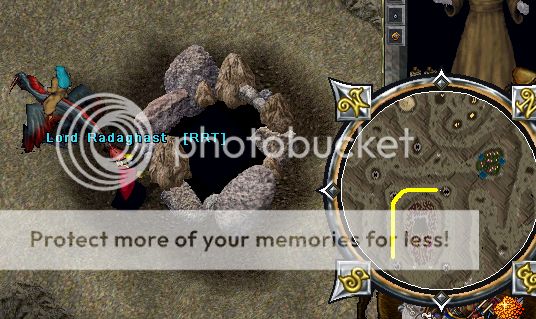
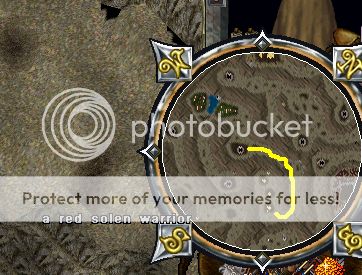
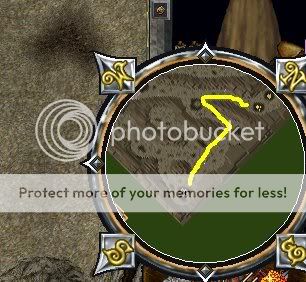
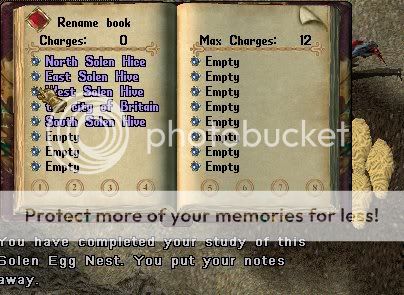
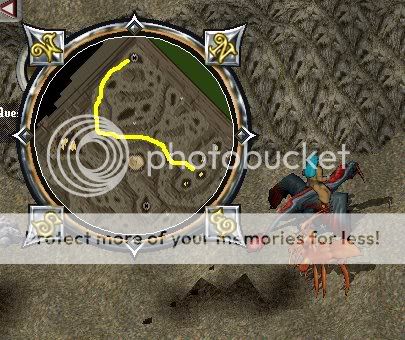
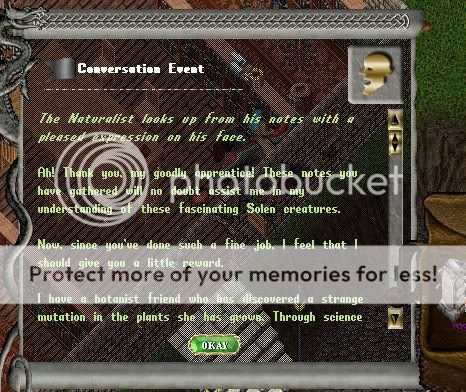
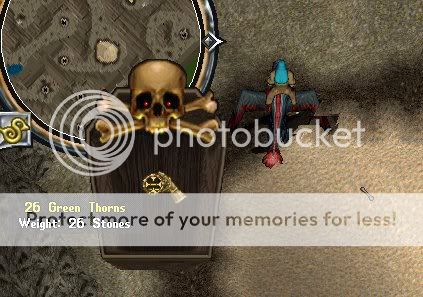
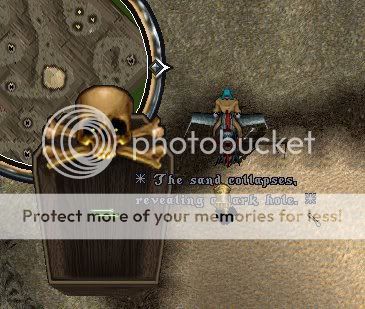
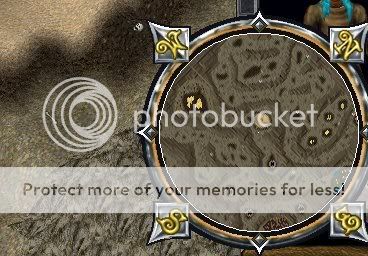
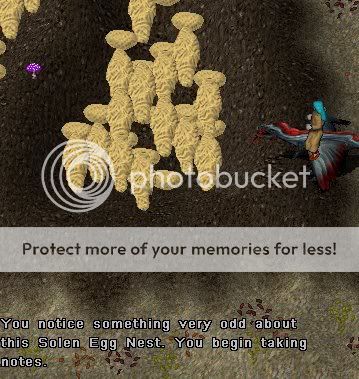
Gareth's Naturalist Quest Walk Through
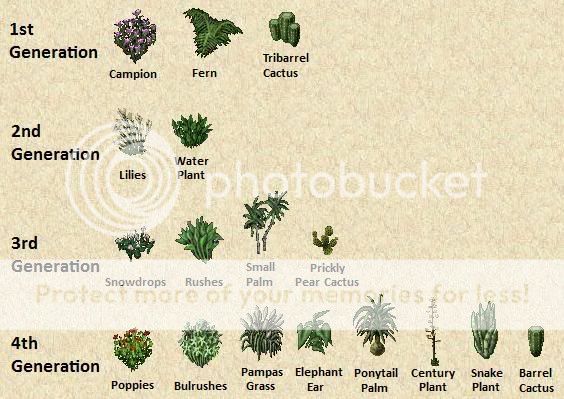
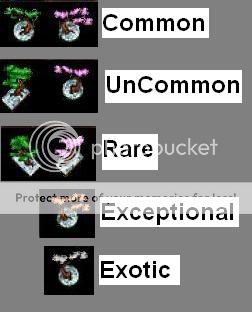
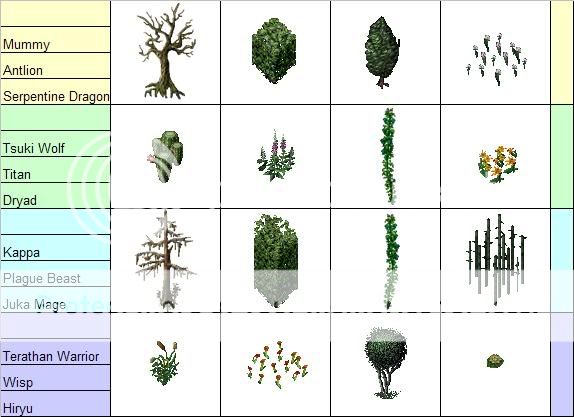
Classic Plants, Tokuno Plants, New Plants
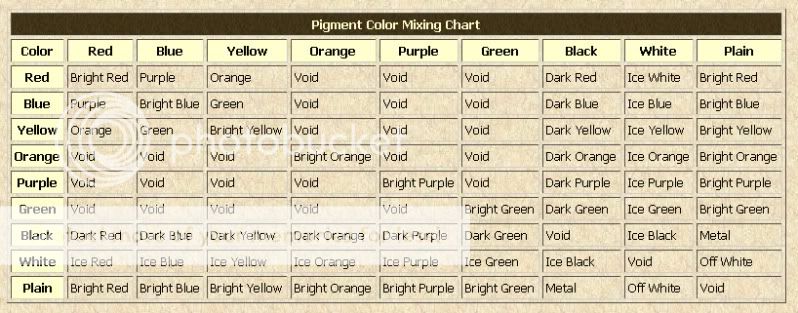
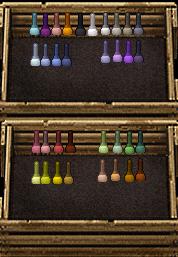
SA Staining
SA Basket Weaving
Angelica's Keg, Bod Filler and Heartwood quick setup (Old)